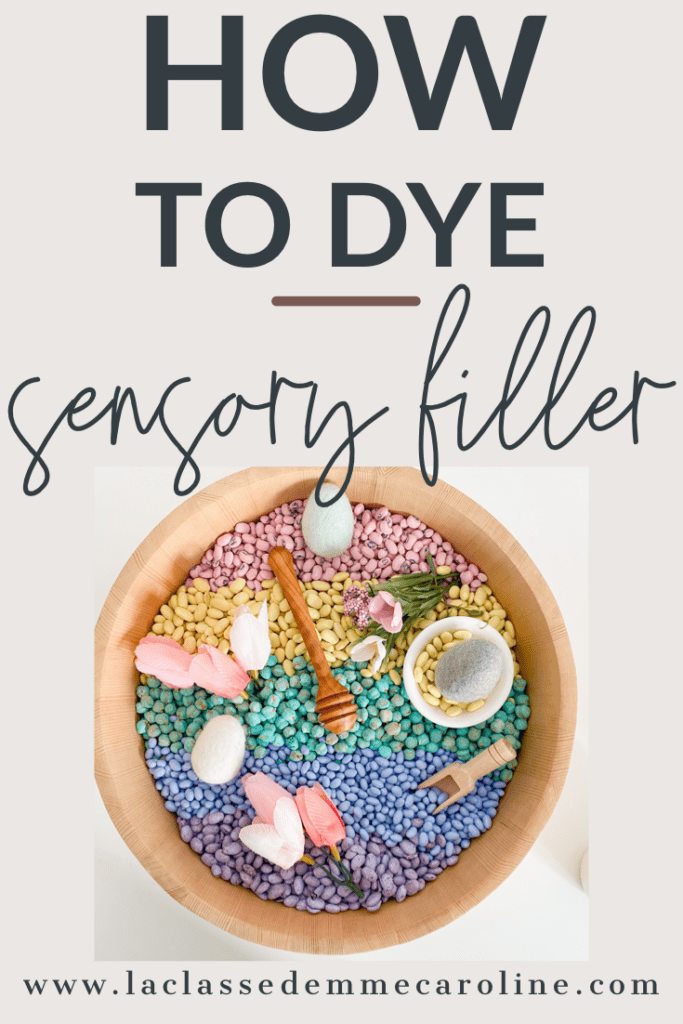
Sensory bins are so beneficial for young children. They provide kids with a hands-on way to explore using their senses. They’re also a great opportunity to learn to play cooperatively, work on fine motor skills, develop their language skills, and more! In this post, I’ll be providing you with step by step instructions on how to dye sensory filler.
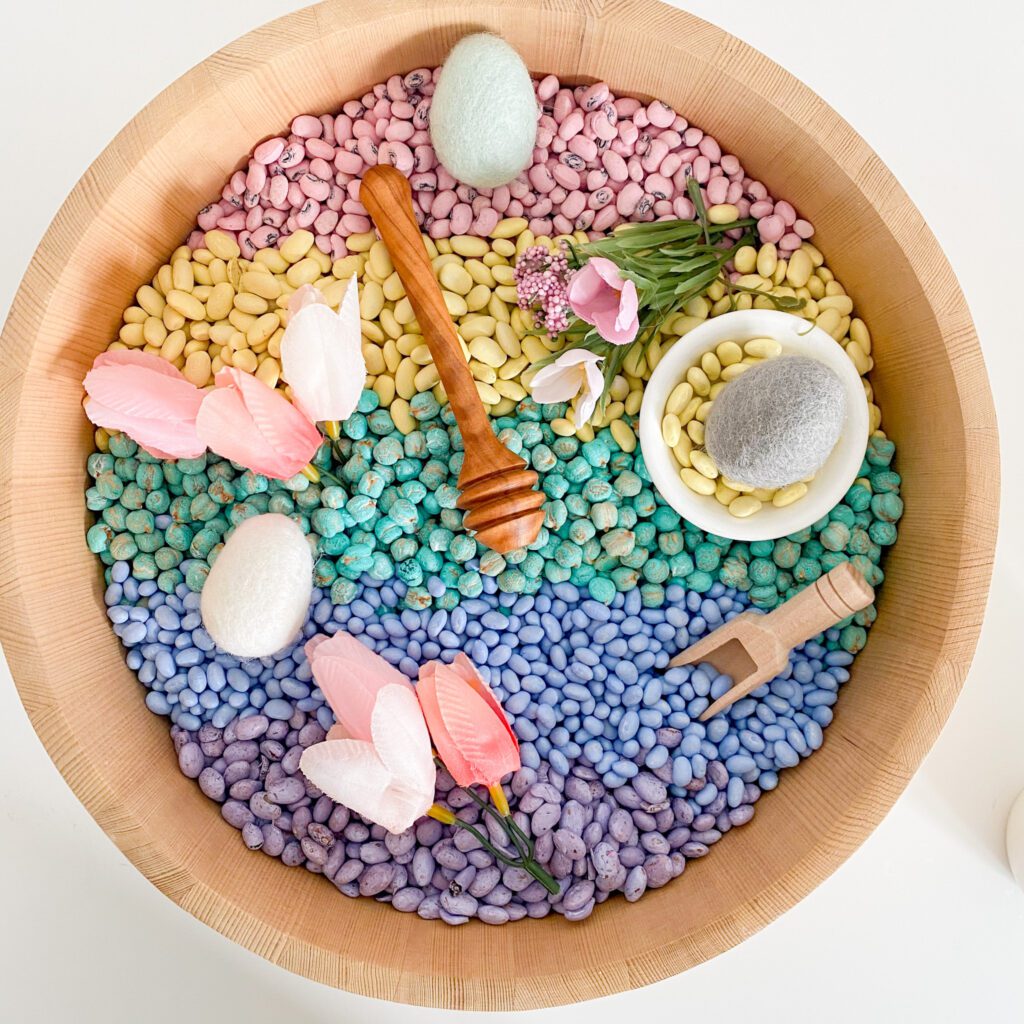
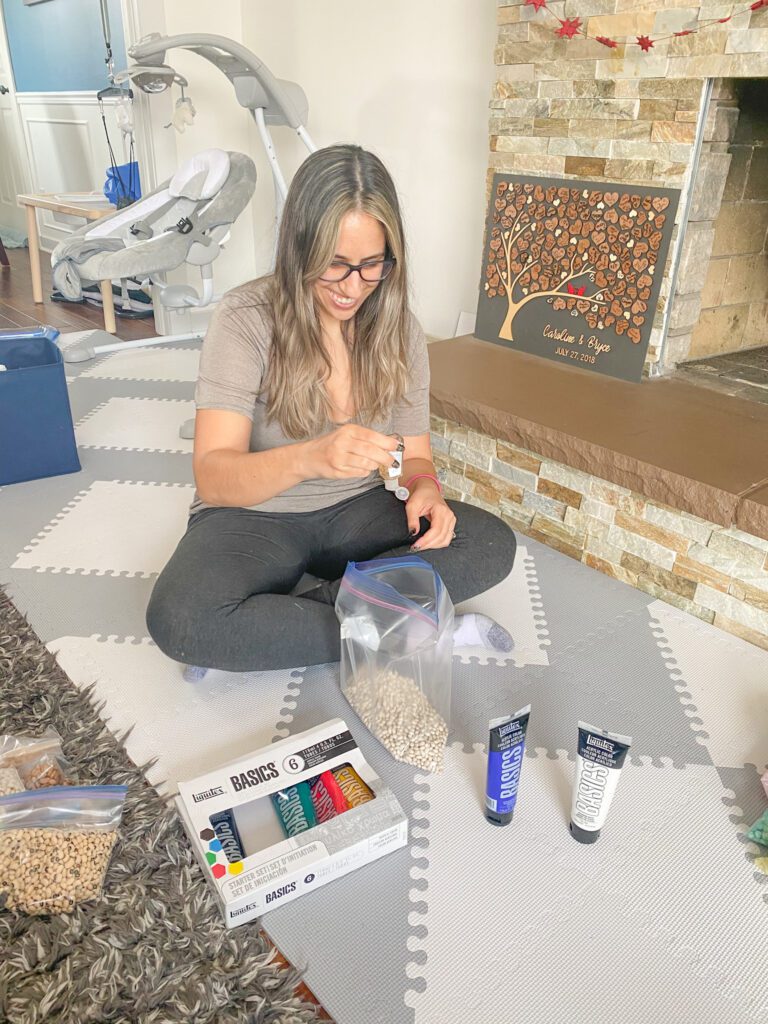
The first thing you want to do is choose your materials. Choose what you’d like to dye (rice, pasta, beans, etc.) as well as what paint colours you’d like it to be. I chose beans and pastel colours for spring. I didn’t actually have pastel paint, so I just added lots of white and a bit of each colour. You’ll also need hand sanitizer and a ziploc bag for each different colour you’ve chosen.
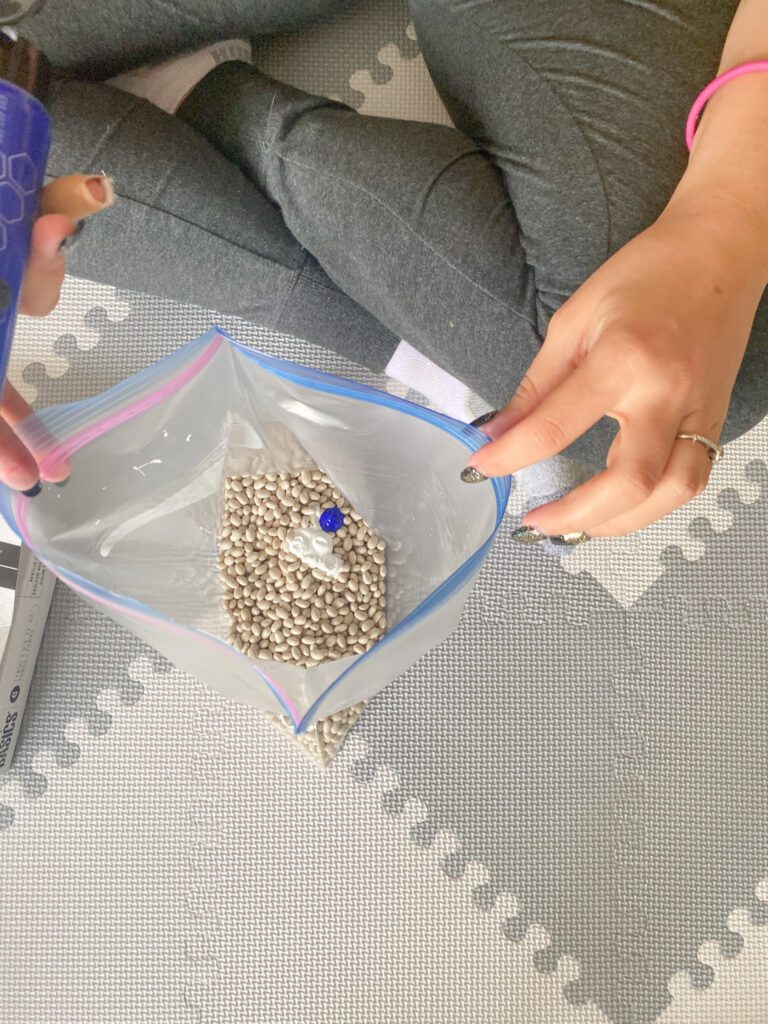
Add your sensory filler to your bag, then add some hand sanitizer. You don’t need much, just a couple of pumps. Add your paint, shut the ziploc and shake it around until everything is evenly coated! Repeat with each remaining colour.
Finally, you’ll want to lay your sensory filler out to dry. I like to line a cookie sheet with parchment paper and lay them out there. Once dry, they are ready to use! The paint may smell for a couple of days, but it goes away quickly.