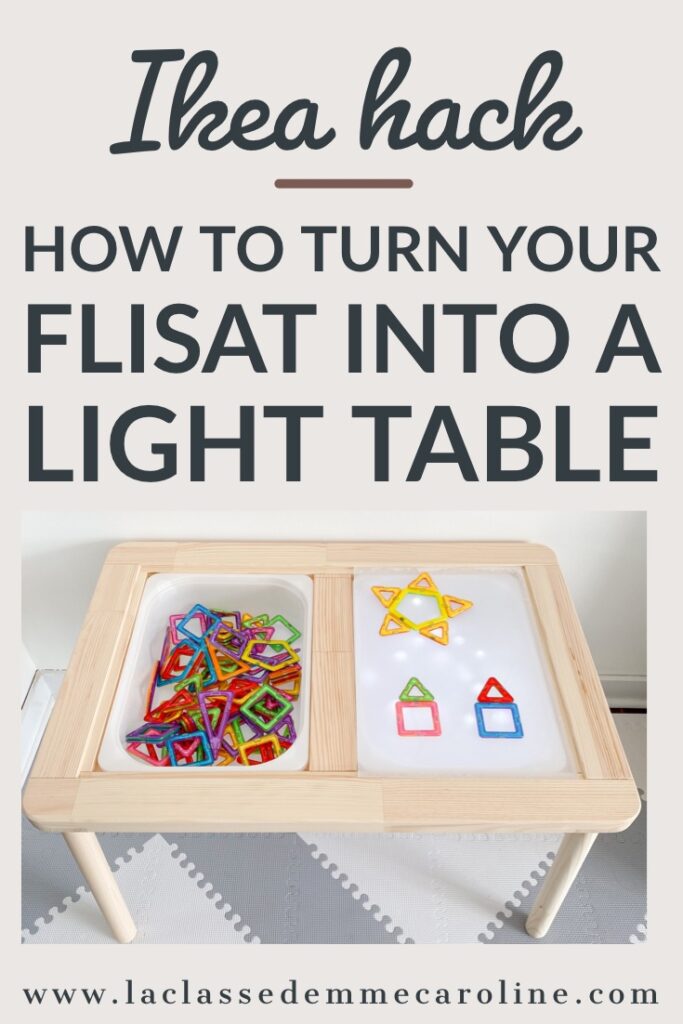
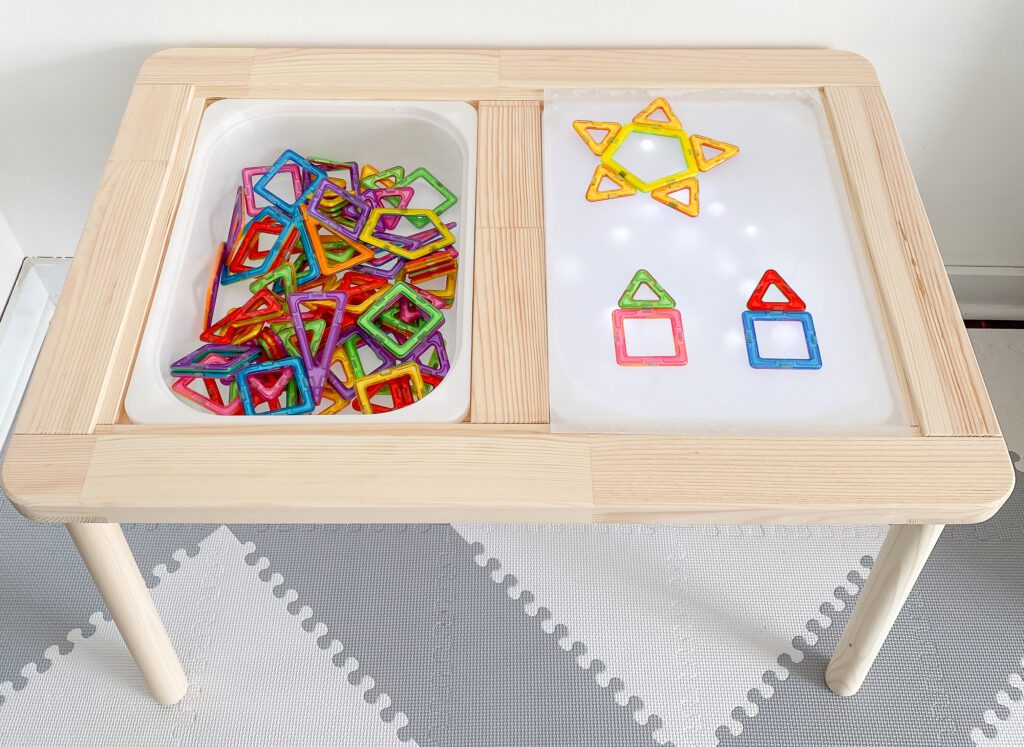
I recently bought an IKEA Flisat table and I am so glad I did. They are very popular, and for a good reason – they’re so versatile! I bought it to do sensory bins with Baby J (once she grows a bit more), but then I thought “why not make a light bin?” I successfully turned my Flisat into a light table for only $60, making it a much cheaper alternative to traditional ones. The best part? It can be taken out anytime so that both sides can be used for sensory play. In this post, I will be showing you how you can easily do it yourself.
The first thing you need of course is an IKEA Flisat table. You also need to buy a Trofast storage box to put the lights in. Some people buy the Trofast lid to use as the top, but I didn’t want to do that since it has a big hole in the middle of it. I also bought a 12×24 sheet of plexiglass, frosted window film and battery operated fairy lights. off of Amazon. I made sure to buy lights that had a cool white setting since those are brighter than warm white lights.
The plexiglass will need to be cut down. I measured it by lining it up with the table – the official measurement is about 17.5 inches. I got my husband to cut it using a miter saw. If you don’t have access to a saw at home, you can also score it using a ruler and a hook knife or a box cutter. That method takes a bit more work, but it works!

Once your plexiglass is cut to size, you want to install the frosted film. I installed it on both sides, but you can install it to one side only if you want your light box to emit more light. I’ve applied contact paper before and it’s a nightmare! It is so hard to get on straight, with no bubbles. I was expecting the worst for this, but it’s really easy. You apply it using water, so you can manipulate the film until it’s in the right spot. When that’s done, all you need to do is add the lights to your box and put the plexiglass on top. If you are worried about children lifting the plexiglass and playing with the lights inside the box, glue the two pieces together. I had my husband drill a small hole in the bottom of the bin. I fed the light through it. This way the battery pack is accessible on the outside and I can glue the two pieces together.
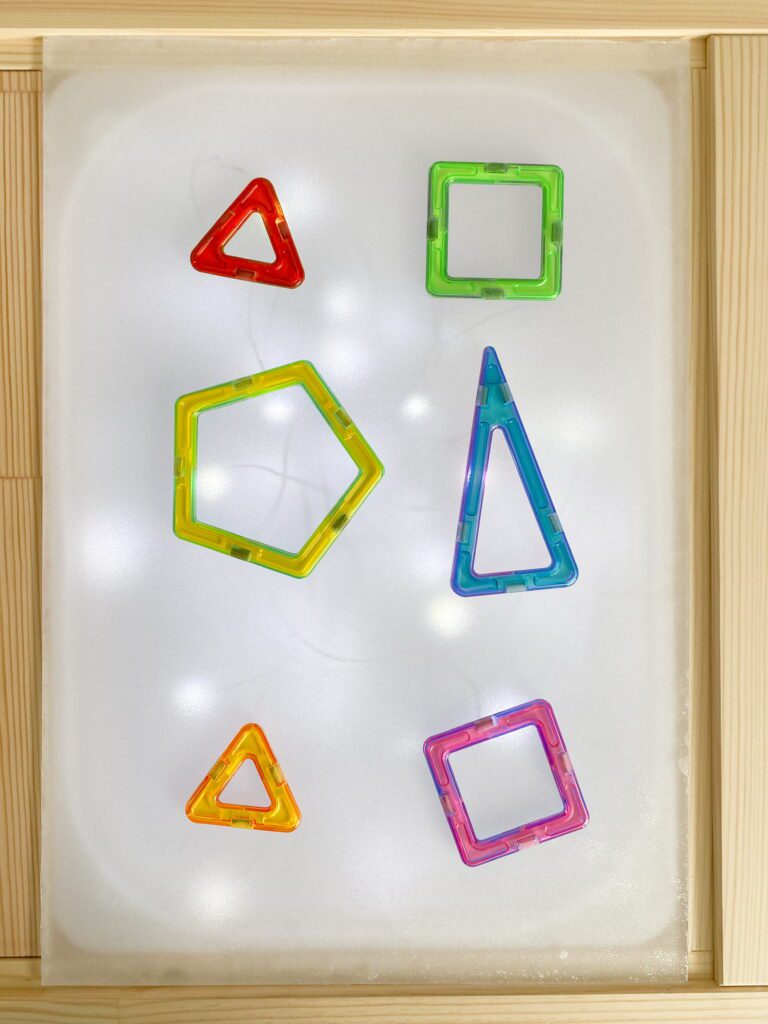

The lights I bought are quite bright, the photos seen above are taken in the daytime and the nighttime. If you feel you want a brighter light table, don’t put the film on both sides of the plexiglass. By leaving one side empty, more light will pass through. I hope this hack helps you out!