You spend hours gathering and organizing supplies for students. But what about your teaching supplies?! My favourite way to store my frequently used teaching supplies is inside a teacher toolbox. You can store it on your desk or in a part of the room that you frequent so that everything you need is right at your fingertips. No more rummaging through your drawers to find a paperclip or a new whiteboard marker!
Let’s talk about how to put together a teacher toolkit and how to organize it!
This post may contain affiliate links. Read my disclosure policy.
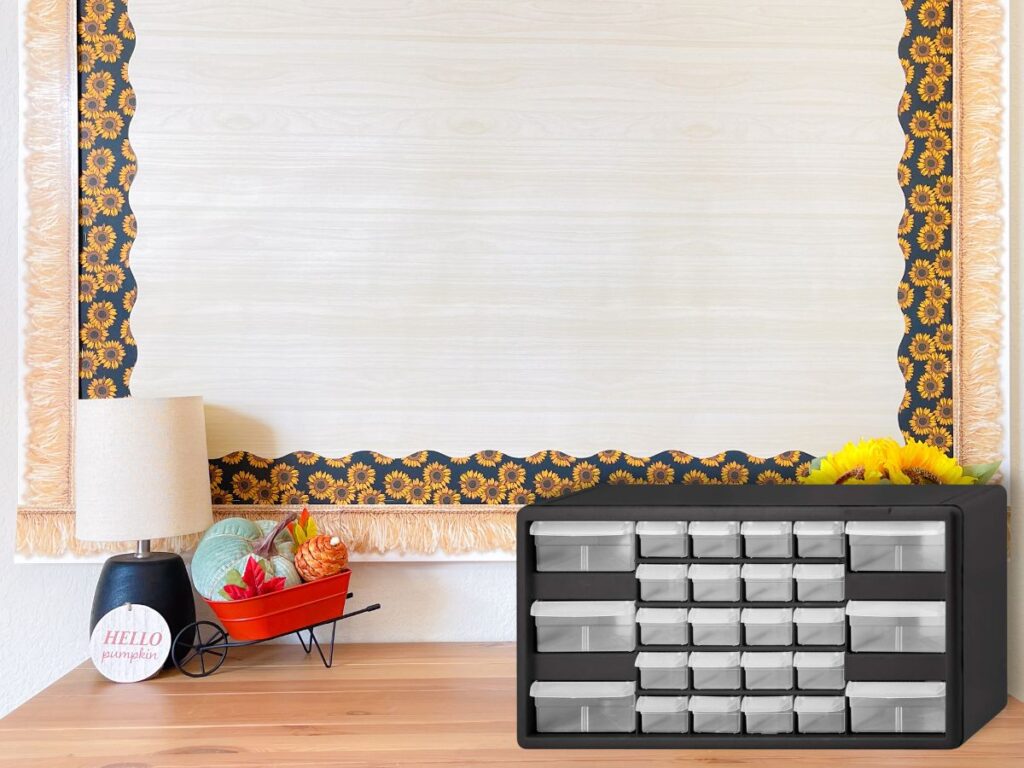
#1 Buy a Teacher Toolbox
You can find these toolboxes in tons of supply and organization stores, and they come in all colours and sizes. I found mine at a hardware store, but you can also grab one on Amazon – which gives you tons of size options.
Before you pick your teacher toolbox, create a quick list of the items you want to keep inside. This will help you determine the size of drawers you need and how many. For example, the small drawers can store markers or paper clips while the big drawers could store extra tape or stamps.
#2 Organize Your Drawers
Once you buy your teacher toolbox, you’ll need to decide what teaching supplies will go inside. If you made a list in the previous step, it’s time to pull that back out. If not, you can make a list now and gather your teaching supplies.
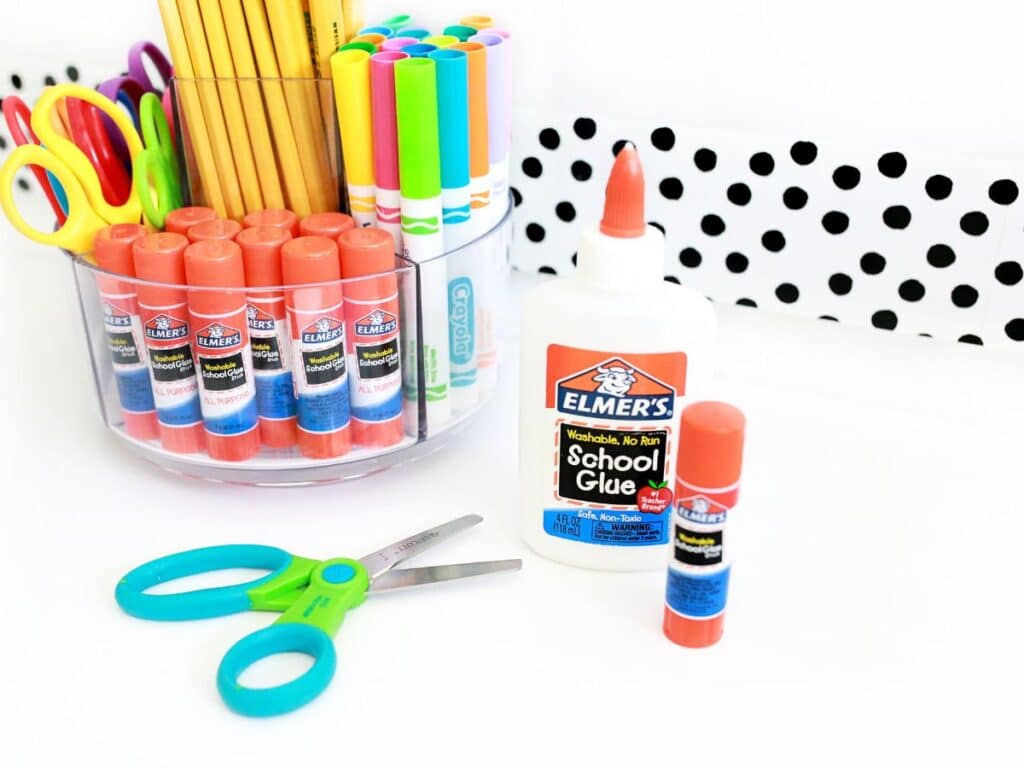
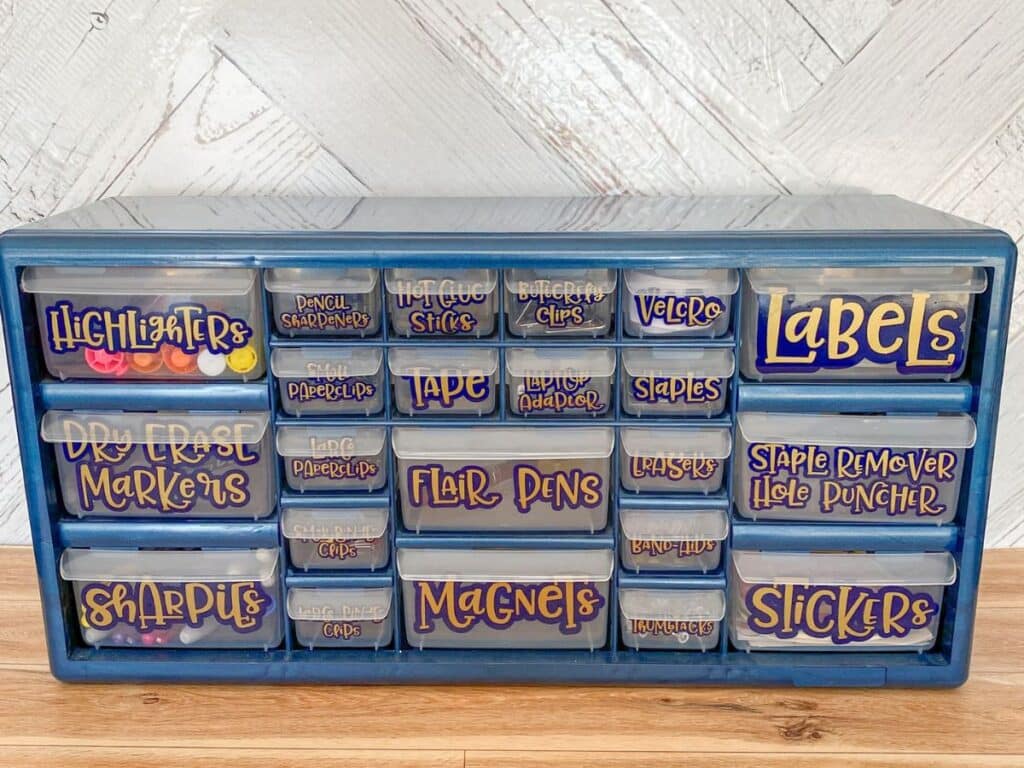
One way to brainstorm ideas for your teacher toolbox is to look inside your desk or other storage items you frequently grab from. For example, my teacher’s toolbox has paper clips, thumbtacks, pens, band-aids, glue sticks, and more.
You don’t have to fill up your drawers right away! As you teach throughout a week, you’ll likely think of more items you wish you had close by (which you can add to the toolbox).
#3 Create Your Labels
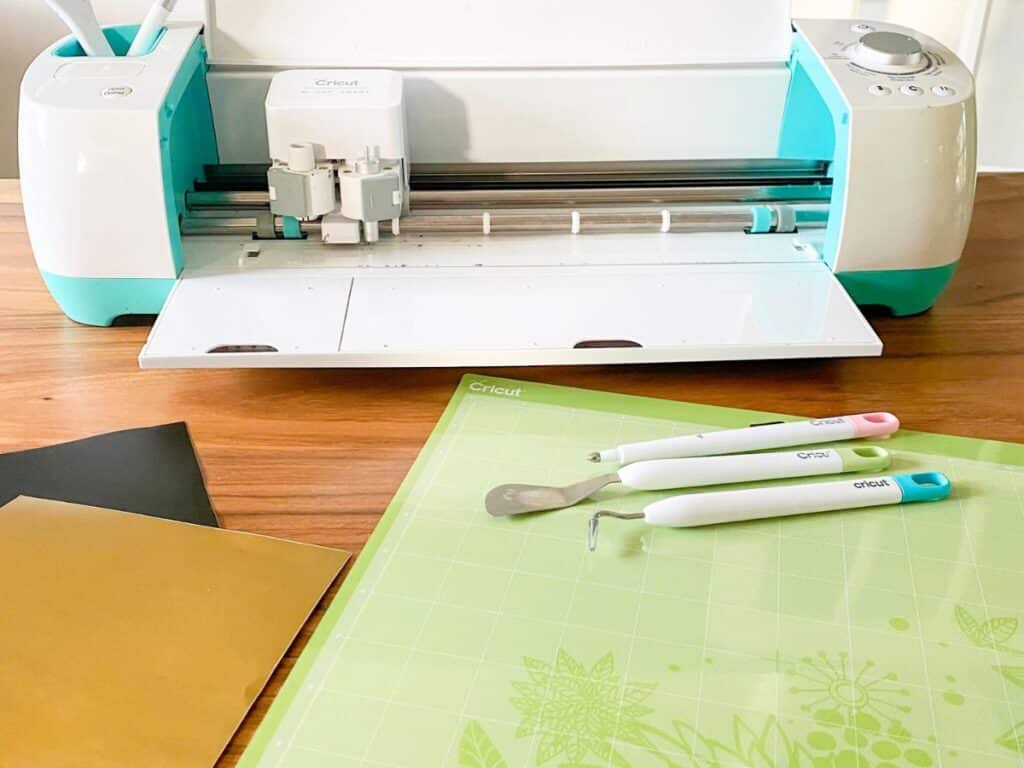
If you have a Cricut, I recommend creating vinyl labels for each drawer. They last longer and look really nice! You can choose your font and a fun colour to add some personality to your teacher toolbox. Just make sure you measure the drawers first so the labels fit correctly.
If you don’t have a Cricut, you can also print labels at home. If you print your labels, I suggest laminating them so they hold up longer. I also recommend putting the paper labels inside the drawers, instead of the outside, for longevity.
#4 Fill Your Teacher Toolkit Up!
This is the best part! Add all your teaching supplies to the toolkit, and then find a home for your teacher toolbox. I recommend storing it somewhere that you have easy access to, like your desk or near the front of the room.
Also, consider if this is something you want your students to have access to. If not, putting the toolbox out of reach or near your desk might be the best placement.
I hope you love your teacher toolkit as much as I love mine! It makes it so easy to grab the supplies I need, when I need them. Want more classroom organisation tips? Check out this blog on setting up your classroom in five steps. If you want to get more use out of your Cricut, check out my classroom Cricut projects.