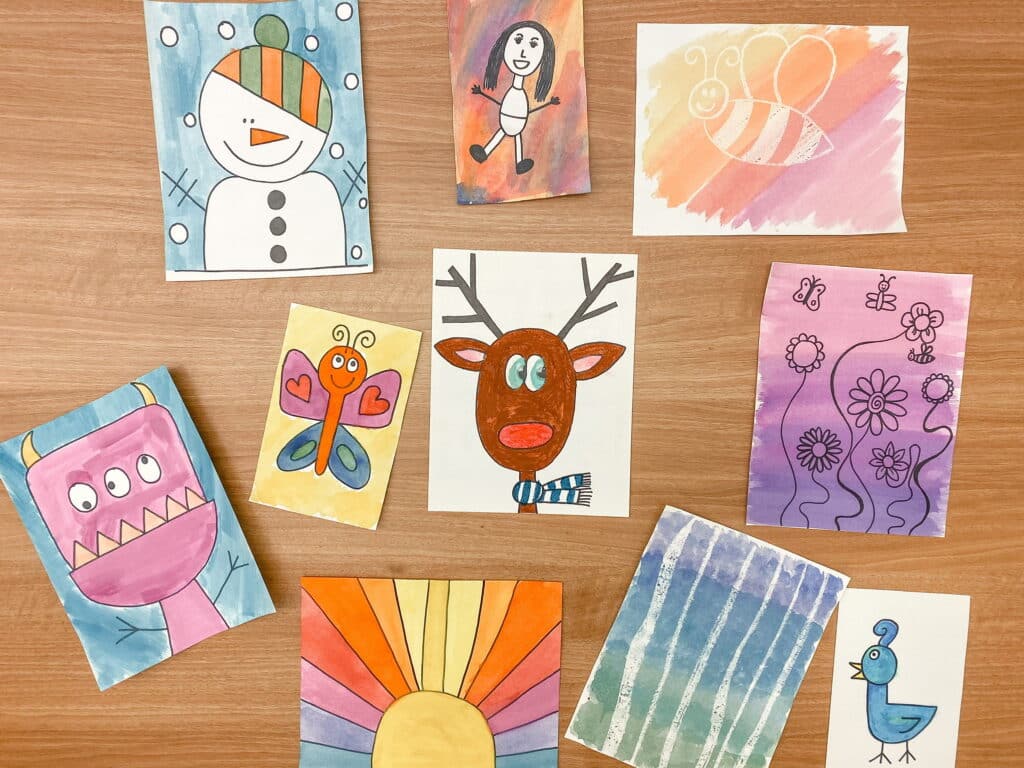
Drawing might seem like a silly skill, but it can have big benefits for students! Directed drawings are a great way to teach early drawing skills. It fosters creativity and is great for fine motor practice.
I often hear students complain that they want to draw something, but that they don’t know how. Breaking it down into step-by-step instructions makes it accessible for everybody – no matter what their skill level is. That’s where directed drawings come in. It breaks down the steps for students, so they can draw independently. It’s also great fine motor practice for our youngest students!
Where to Find Directed Drawings
The good news is that you can find directed drawings for kindergarten students everywhere. If you are looking for paper versions, you can search on Pinterest or TPT for printable activities. Personally, I’ve always loved using the drawings made by From the Pond.
Once students get the hang of directed drawings, you can use videos to challenge their skills. Directed drawing videos tend to have more complex designs, but students really enjoy them. Art for Kids Hub and Dessin pour enfant are popular channels with tons of kid-friendly drawings.
How to Use Directed Drawings in the Classroom
It can take a little bit of practice for students to get the hang of directed drawings, but once they do, they will beg for more! Here’s how I like to introduce direct drawing in kindergarten so students are successful.
Step 1: Introduce the Directed Drawing
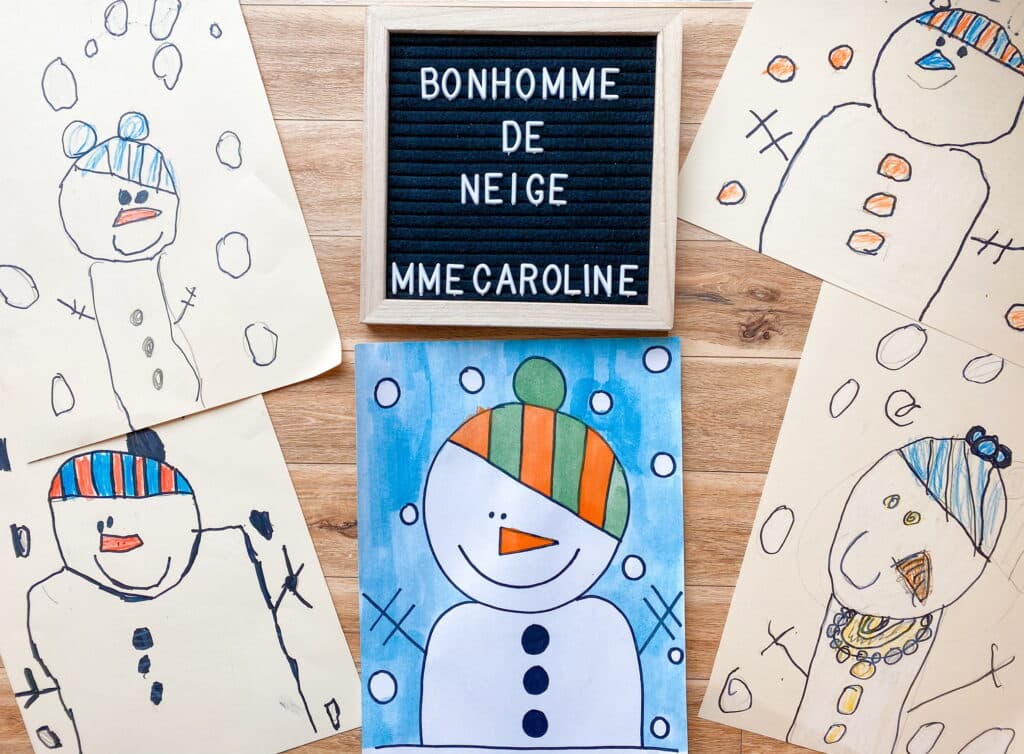
In my experience, directed drawings take a few days to complete, so I introduce a new project every couple of weeks. To start, I show the class a finished example that I created. This helps students know what to expect. I do these activities as a whole-group activity every Friday, and it takes the entire last learning block to complete (just over an hour).
Step 2: Analyze the Image
To get started, we take a look at the example image. I ask students to identify what shapes they see inside the drawing. Again, this sets the stage for students, so they know what their final drawing will look like. Of course, this also brings in some foundational math skills and basic French vocabulary practice!

Step 3: Begin the Directed Drawing
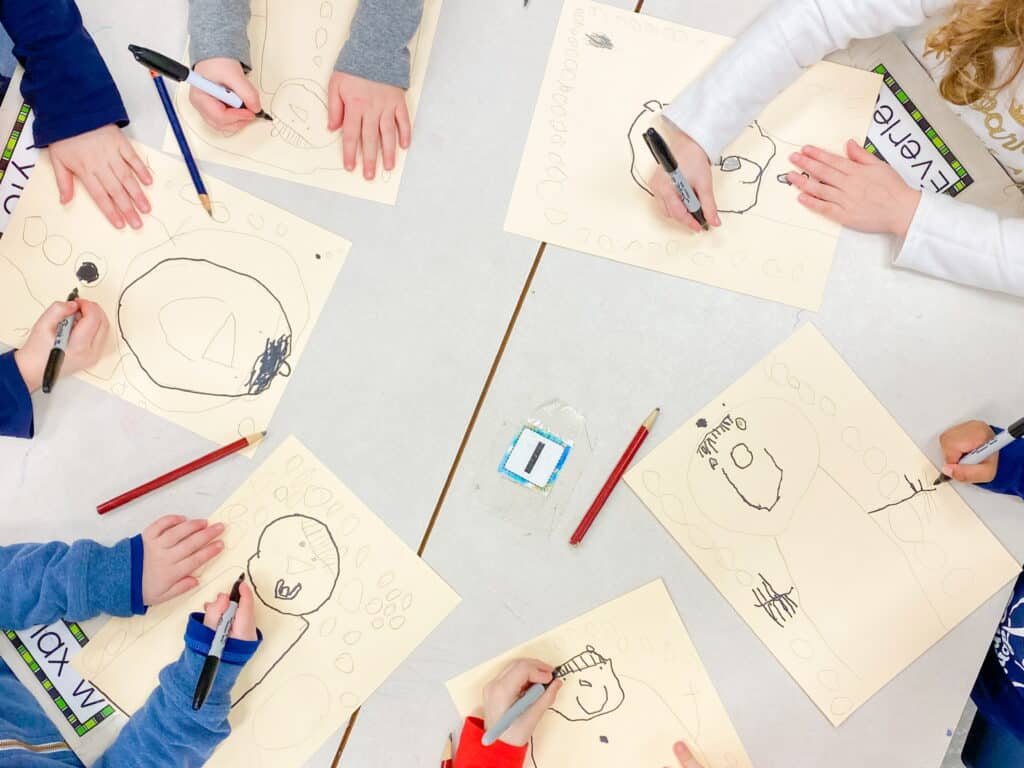
Now, it’s time to start drawing! I send my students off to their tables with a pencil, an eraser and a piece of cardstock. I also set up my space by placing a chart in the centre of the room so that they can all see it. You can also draw on the whiteboard.
Then, I begin drawing step-by-step. I say the instructions out loud and then create the drawing on my chart or board. Students follow along and draw on their own paper. If you are using a guided YouTube video, you can pause the video after each instruction, so you and your students can draw. You can also use a plug-in like Video Speed Controller to slow down the video speed.
Step 4: Continue Until Complete
Repeat this process until the drawing is complete! Then, I give students a black marker (I actually use sharpies – even in kindergarten) so that they can trace what they drew in pencil. This helps to make things POP! Afterwards, your students can use crayons, paints, pencil crayons, pastels, etc. to add colour to their drawing.
I usually use watercolour paint with my students, I just do a lesson beforehand on how to use them. I remind them to use lots of water, and they get the hang of it really quickly! Pro tip: show them the difference in how the colours show up based on the amount of water you use. It really helps them understand why they need to use lots of water.

Directed Drawings During Centre Time
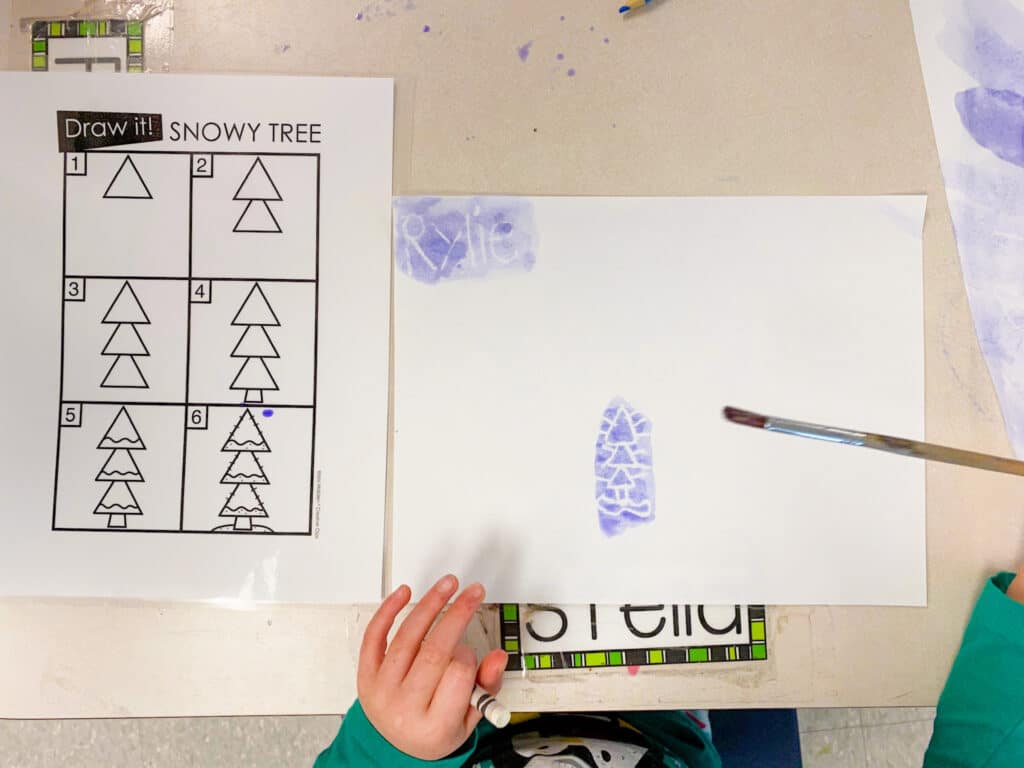
Because I’ve done so many directed drawings with my class, I am now able to put out some step by step directed drawings for the kids to work on individually. I will put out styles that are concepts I’ve previously taught them that they can work on individually.
I like to put out some directed drawing sheets for them, but I encourage them to create whatever they’d like. I will put these out during our afternoon centres. Sometimes I put out individual sheets of paper, but sometimes I put out butcher paper and students can create a collective piece of art.
When to Use Directed Drawings in Kindergarten
When students are new to directed drawings, I like to use it as a whole class activity. It makes for a fun Friday afternoon activity – and it helps Friday afternoons pass a little quicker! Once students become familiar with the process, though, you can transition it to an independent activity. Add them to centres, morning work, early finishers activities, and more.
Directed drawings will quickly become a favourite activity in your class! Students will love the opportunity to be creative, and you’ll love that it’s building their fine motor skills.
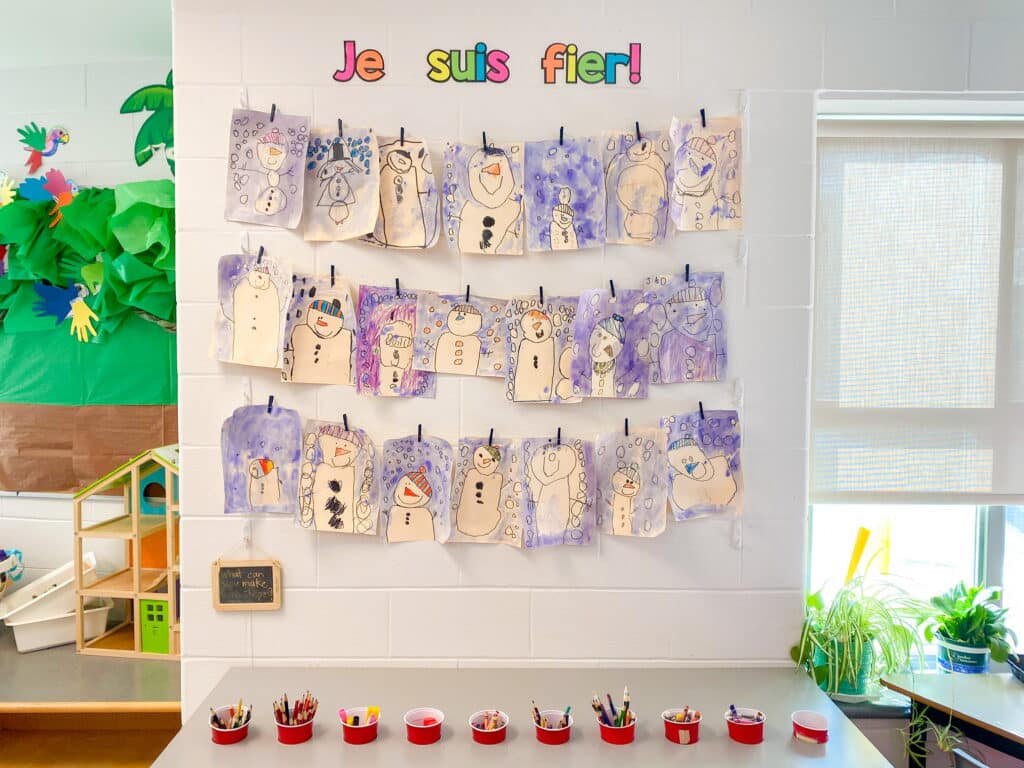
I post their artwork on a bulletin board in the classroom for them to admire for the week. Then the following week, we repeat the process! This is easily my favourite part of my day when I teach kindergarten and I’ve done it both as a homeroom teacher and as a prep coverage teacher.
I admit, I was nervous when I started doing these. I had no idea how it would turn out! Luckily, my students blow me out of the water every week. Even my difficult classes have flourished during this time, so don’t be scared to try it out! They are always so engaged and the care they put into creating their art is inspiring.
Looking for more kindergarten ideas? Check out my other blog posts about teaching kindergarten in French.

