The beginning of the year always means getting crafty in the classroom! Of course, lots of teachers are looking to do things on a budget. One must-have in my classroom is privacy folders, but I have found that they are super overpriced online. So, I want to show you how to make privacy folders for students for less than $30.
Why use privacy folders?
You might wonder why I consider privacy folders a must-have in my classroom. I have found them to be beneficial in keeping students on task and focused on their word. Especially during independent times when I may be working with small groups, privacy folders cut down on the distractions and chatting.
They also work well for copying. During assessments, I want my students to focus on their own work, not their neighbors. Privacy folders are a simple solution.
Lastly, some of my students simply love them! It eliminates the distractions in the classroom and other stimuli in the room. This keeps them more focused and engaged in their work.
How to make Privacy Folders for Students
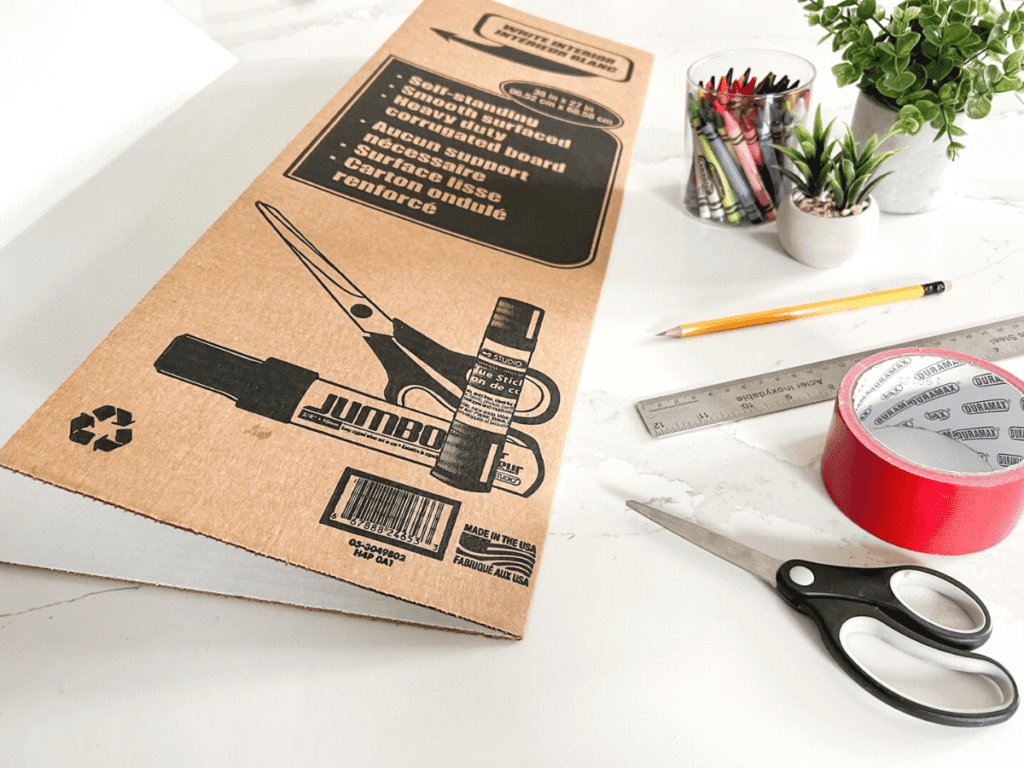
First you are going to need a few materials. You need scissors, tri-fold display boards, and duct tape. The number of tri-fold display boards you need depends on the number of students in your class. You need half the number of boards for the amount of students. For example, for twenty students, you need ten boards.
For inexpensive tri-fold boards, check your local dollar store. You can often get each board for a little over a dollar.
Then, it’s time to create the privacy folders.
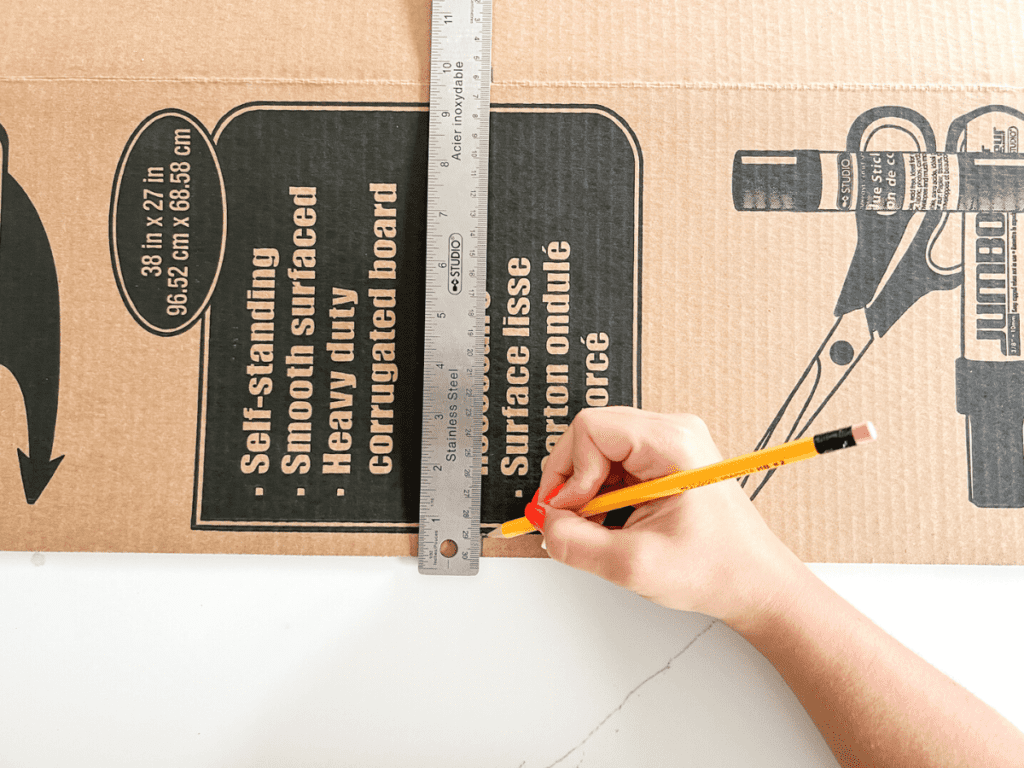
Step one: Measure the tri-fold boards at the halfway mark horizontally. Draw a straight line across. Essentially, you’re going to cut the board in half, and you still want to have the folding sides. Tip: the line you’ll need to draw is super long. Measure at various spots and match up the lines to make sure your line is straight.
Step two: Cut the boards in half along the line. Make sure you’ve got good scissors. This is definitely the hardest part for me! It can be quite awkward to cut the middle, so I usually like to cut from each end and meet in the middle.

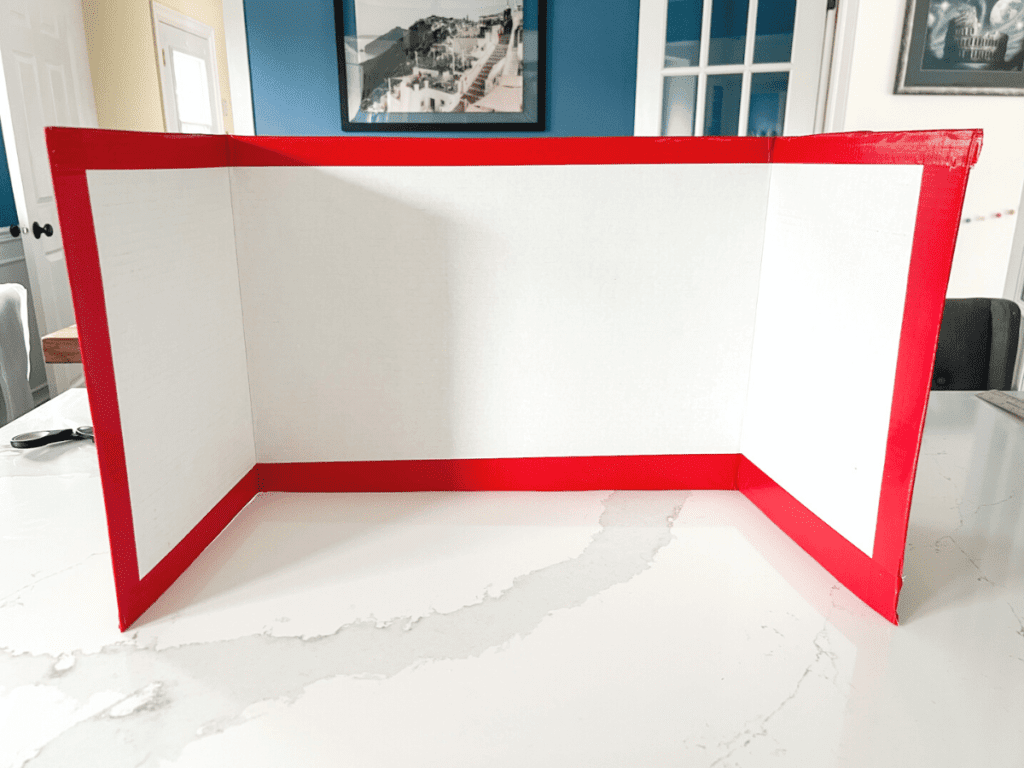
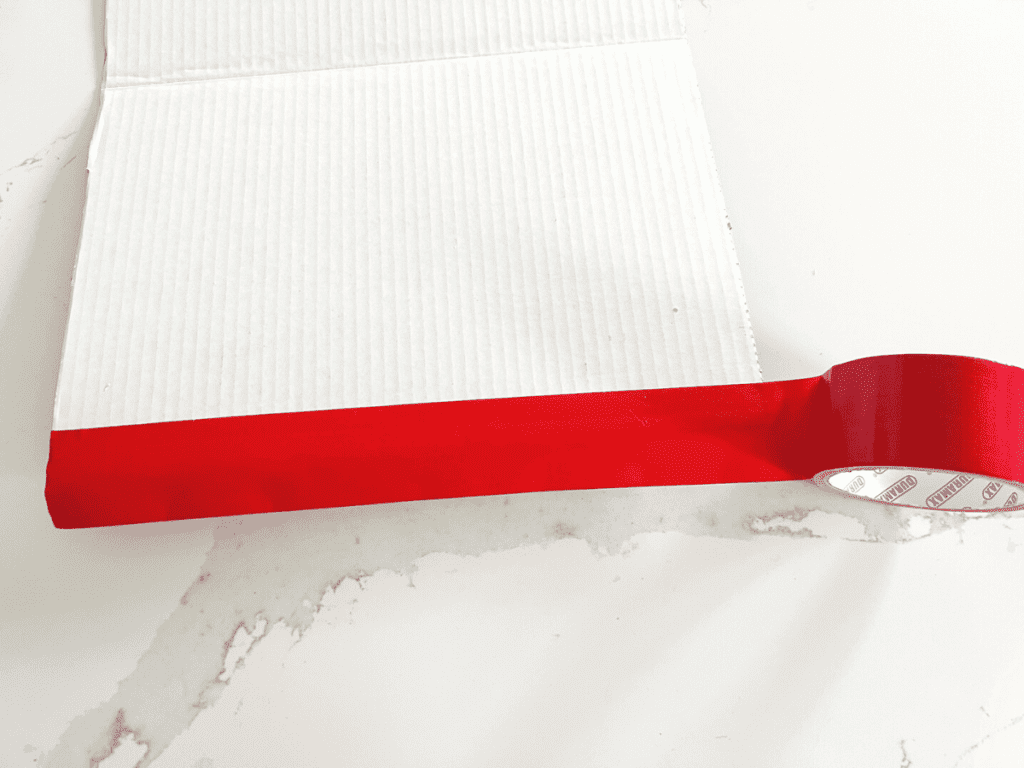
Step three: Use duct tape to “seal” the edges. The edges can be a little rough and sharp, so this protects students. Additionally, reinforcing these edges will make your boards last longer. Feel free to use colourful duct tape for some added fun.
Now your boards are complete!
I have several blog posts all about back to school season. You can read them here. Some of my favorites are 5 Things to Remember for the First Day of School and Building a Classroom Community.