One of my favorite parts about back to school is picking out and setting up a new teacher planner for the school year. Personally, I have struggled to find planners that I love, so I am a big fan of printable teacher planners. They tend to allow for more customization and personalization!
Here is how you can set up your teacher planner for back to school. PS – looking for more back to school content? Check out my posts about how I run my first day of school in Grade One, Grade Two and Grade Three!
Tip #1: Personalize Your Teacher Planner
I like my planner to have everything in it. It’s my one stop shop for all things related to my classroom schedule, lessons, and unit plans. Decide what you need in your planner to feel like it’s yours (and actually be useful for you). Key things I always include in my planner are my school board’s calendar, my timetable, the duty schedule, and long range plans.
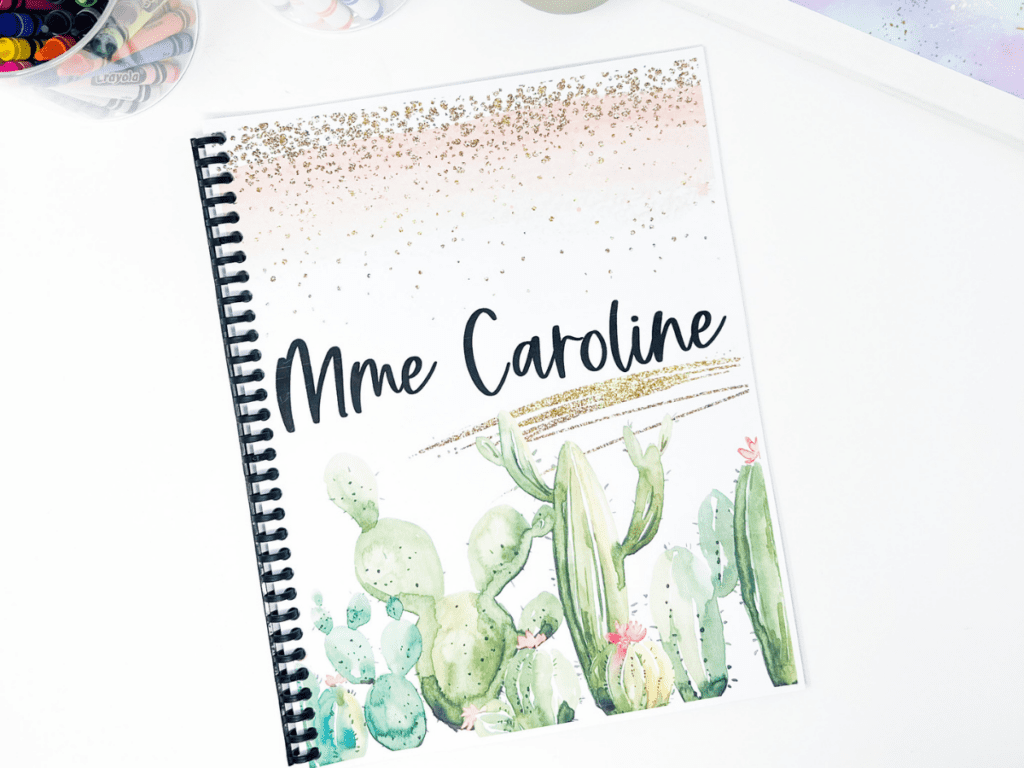
If you use a printable teacher planner, you can often customize the look and feel of your planner as well. Add your name to the front cover. Change the colours or font. Pick a cover that makes you smile!
Tip #2: Add Your Daily Planner
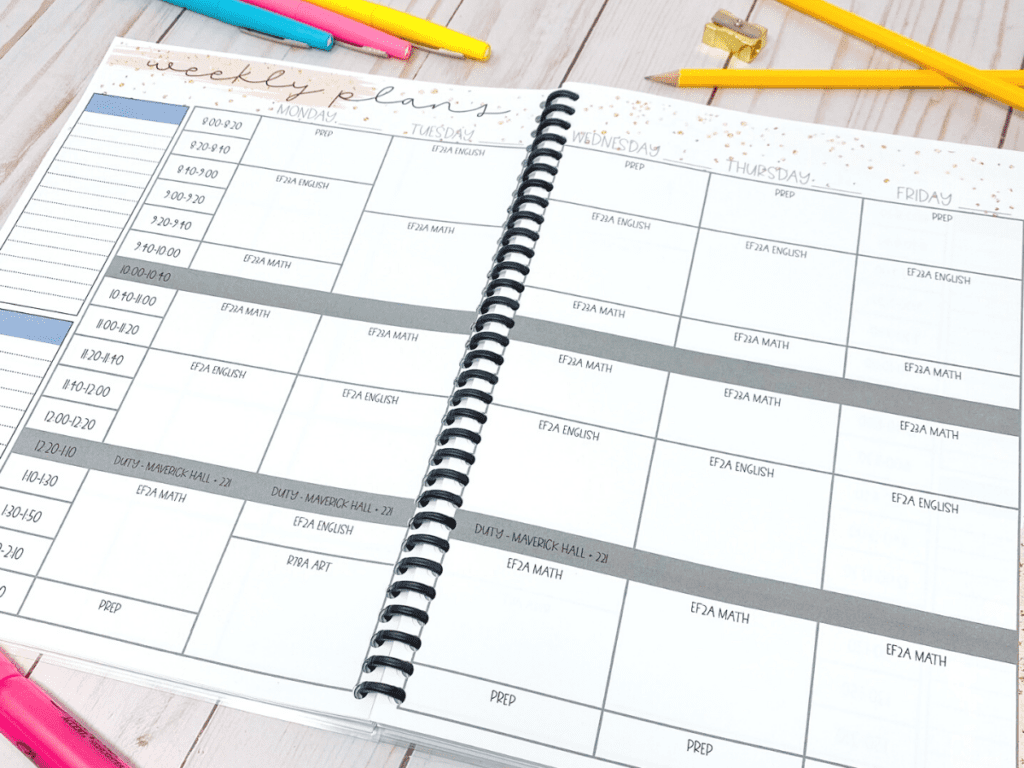
The most useful part of a planner is the daily planning aspect. This is where teacher planner templates and printable planners are the true winner. You can customize the daily section of your planner to fit your needs.
At my school, we plan in 20 minute blocks of time. You might have class periods or set times in your day for particular activities. Based on how long a period or block is, you will want to adjust the size of the box you have to plan in.
For instance, my reading block is 60 minutes a day, whereas drama is only 20 minutes. My drama box will be smaller than my reading box because I don’t need to plan as much.
You can make these sections in PowerPoint with the table tool. Then merge together cells to create those larger boxes for bigger sections in your day. Lastly, I like to add a title to each section, such as “math” or “reading”. Once you create the table and size you want, copy and paste this table across your planner!
Tip #3: Pre-Plan to Save Stress
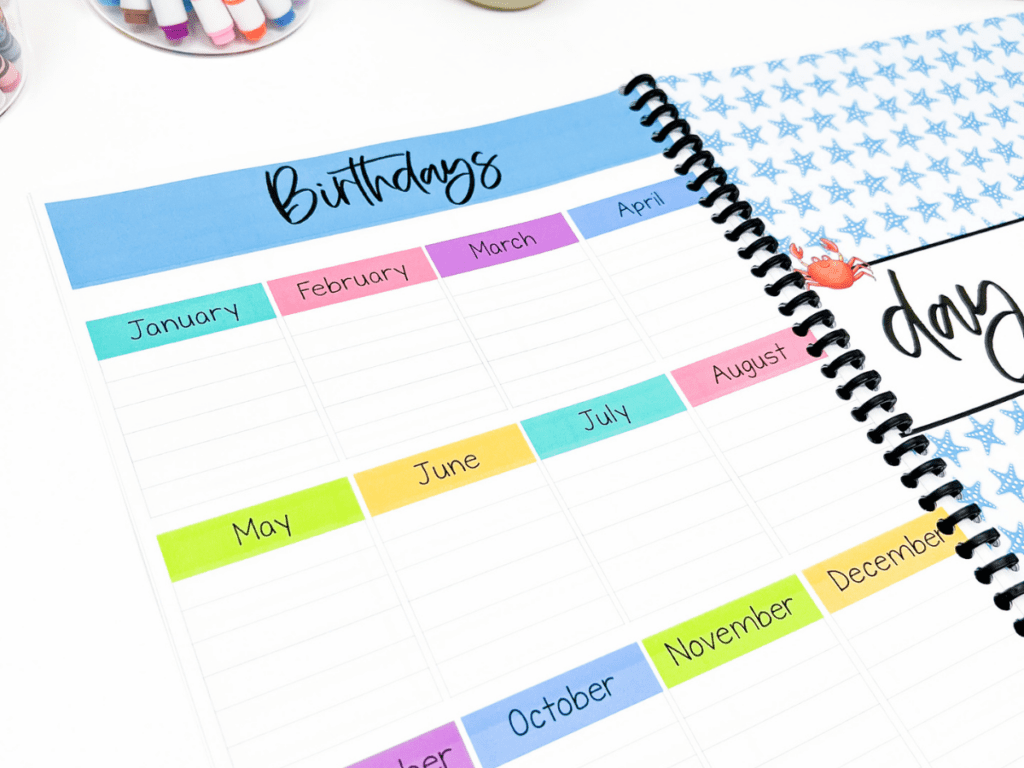
One thing I do at the beginning of the year that saves me so much time later is include key information throughout my printable planner. For example, I put my students’ birthdays in my planner on the correct day, so I don’t forget. I also like to have parent contact information in an easily accessible place, so I include that in my planner.
Additionally, I like to make a monthly goal section. It helps me plan and anticipate what is coming next! A notes section is also helpful for parent conferences or general items you want to keep track of.
Like I said before, I am a big fan of printable teacher planners which is why I created my own teacher planner templates! They are completely customizable, so you can make it fit your classroom needs.
Each planner includes a daily schedule that you can customize, a year at a glance, a monthly calendar, parent communication log, behaviour log, birthdays, accommodations, and much more! Plus, you’ll get free updates each year – so you can use it over and over again!
Some of my best sellers are the Black and Gold Planner, Cactus Planner, Watercolour Planner, and Gold and Greenery Planner.
Want to check out the resources listed?
All the links above lead to TPT, but the resources are also available on our website. Here are the resources available here for purchase in CAD. Don’t forget you can also buy credits for an additional discount (up to $15 off).
-
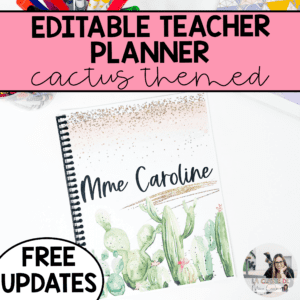 EDITABLE Teacher Planner | Cactus Planner | FREE UPDATES$ 12.00
 -
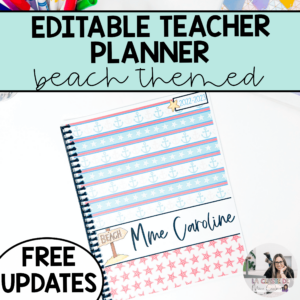 EDITABLE Teacher Planner | Beach Theme | FREE UPDATES$ 12.00
 -
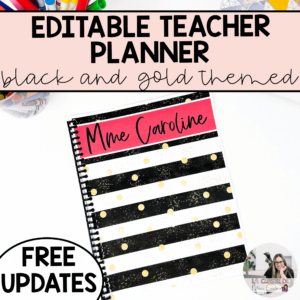 EDITABLE Teacher Planner | Black and Gold | FREE UPDATES$ 12.00
 -
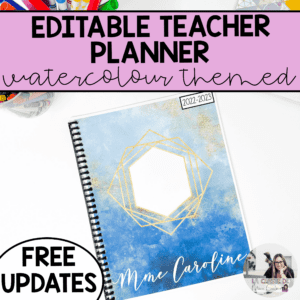 EDITABLE Teacher Planner | Blue and Gold Watercolor | FREE UPDATES$ 12.00
 -
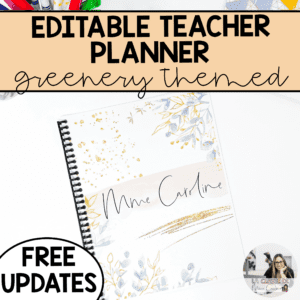 EDITABLE Teacher Planner | Gold and Greenery | FREE UPDATES$ 12.00

